Clutch Spring Replacement (the easy way)
- Vintage Gadget Mod.
DOWNLOADABLE PDF
This is a vintage Gadget Mod. Since it was originally developed there have been changes that impacts this mod. Kawasaki redeveloped the spring and holder for all 1500/1600 Vulcans, including our Drifters. Early model Drifters have a weaker spring and one holder. This allowed the clutch spring to over-flex resulting in premature failure. Later models have two spring holders and a stronger spring.
Original mods included using a 2002/2003 Mean Streak which was a heavier spring. Additionally, this older mod suggests the use of some very rigid "washers". 2004 and later Drifter 1500's have two holders and a stronger spring. Even these will wear out over time simply because of use. Personally, I retrofitted my 2002 with the later holders and spring and recommend this method over the use of the 2002 MS or Judge's washers.
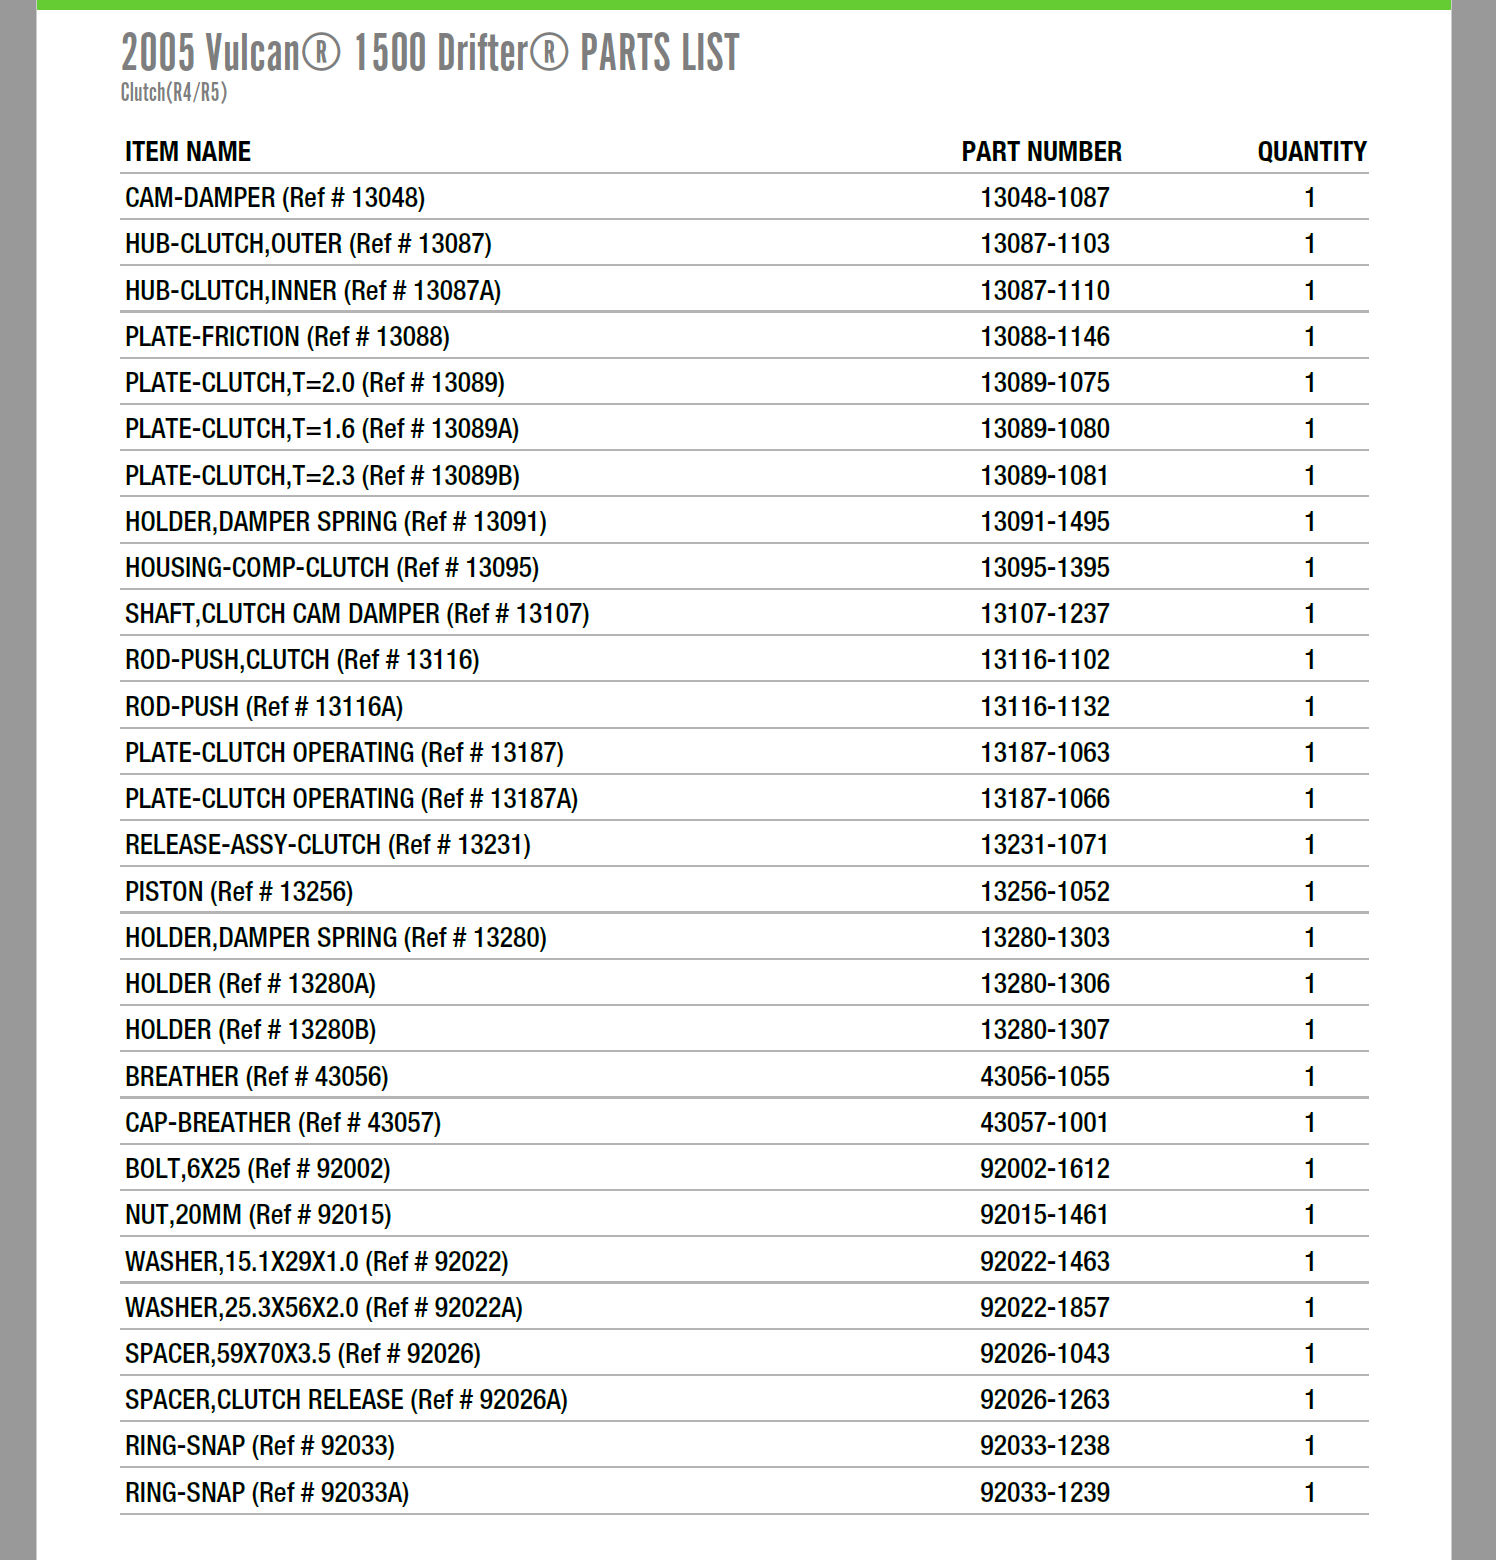
Clutch Parts for Spring Replacement
All Vulcan 1500 and 1600's now share the same clutch parts. You can upgrade your early Drifter by adding the new spring and holders. These are the part numbers for the parts I used to update my 2002 1500 Drifter clutch.
| # |
SKU |
NAME |
QTY |
| 1 |
92144-1295 |
SPRING,CLUTCH |
1 |
| 2 |
13280-1306 |
HOLDER |
1 |
| 3 |
13280-1307 |
HOLDER |
1 |
| 4 |
11061-1081 |
GASKET,CLUTCH COVER |
1 |
| 2 |
Gaskets |
KAW or HD Exhaust header gasket |
1 |
Some folks also replace the 3 limiter springs - 92144-1188.
OPTIONAL: (Neither of these are required)
- 1- If you want to use the MS Spring - 92145-1449 - Remember, this spring was only used on 2002/2003 Mean Streaks, so you have to order this exact part number.
- For those using judges washers, 1- set Judges Washers (see write-up)
available from EZ-ON MC Accessories


Tools
- 8 mm socket or wrench
- 10 mm socket or wrench
- 12 mm socket or wrench
- 14 mm socket or wrench
- 27 mm socket
- 8 mm Allen Head Wrench
- hand cleaner
- towels/rags for after project cleanup. If you're doing this on the sidestand you won't lose any oil
- An impact wrench is strongly recommended to remove the 27 mm clutch spring nut. If you don't have one maybe a neighbor will let you borrow their compressor and gun. You'll only need it a minute or two. If there's no way to borrow or rent an impact wrench then you'll want to check Ol'Sarge's Web page for his technique for muscling the clutch spring nut off.
The Project
If you do this 'by the book' you'll be removing the speedometer assembly, the gas tank and a whole bunch of unnecessary stuff. Toss the book and follow along. This procedure (I just finished my Nomad so it's all fresh in the noggin) will get you through the task in two to three hours.
You have a choice, putting your bike on a lift will give you slightly easier access to some of the nuts/bolts and other parts and possibly save your back a bit of bending. Doing the project with the bike on the sidestand means you don't have to drain the oil. You won't lose a drop, trust me. (Editor Note: On my Drifter I lost about a half quart of oil... so be prepared.) Lets do this.
- Cut zip ties holding brake switch cable (and any other wiring you might have added) to the right side downtube.
- Remove 8 mm bolts holding rear brake fluid reservoir and reservoir cover to bike.
- Remove 2- 14 mm bolts holding floorboard and brake pedal assembly in place. Be careful not to stretch brake line or brake switch wire.
- Remove small spring connected to brake switch assembly.
- Unscrew brake switch holder from brake switch being careful to turn the holder, not the switch (you could break the wire off).
- Put floorboard/brake master cylinder assembly out of the way but not with strain on the brake hose. It will help if you reach down inside the lower frame tube and unclip the brake hose.
- Remove 10 mm bolt holding right side of rectifier bracket to frame rail.
- If you're doing this with bike on the ground put something (a floor jack would be good) under the engine to provide a bit of support (it isn't going anyplace, this is just overkill). Remove 2- 13mm engine mount bracket bolts from right side downtube.
- Remove front exhaust pipe. If you have stock exhaust, note the pipe heat shield is held in place by three hose clamps with 10 mm bolts. Just loosen those bolts and slide the clamps 'up' toward the front of the bike. The heat shield assembly should come free fairly easily. Don't force anything or you could bend the lower portion where it slides into the lower heat shield.
- Remove rear lower frame rail bolts using 8 mm Allen wrench (these are bolts that screw into the frame). Remove front 8 mm Allen head bolts from downtube (these are held in place by nuts. Put one hand on those nuts or they'll fall to invisible places once the bolt comes loose).
- Now you have a clear playing field and should be able to see all of the 8 mm bolts holding the side cover in place. Before you start removing these make a template (using your replacement gasket) so you can keep track of where each bolt goes. There are many sizes and you don't want to get them mixed up.

- Remove the 8 mm bolts and wiggle the side cover off. You may have to tap it a little with a soft mallet. There are two alignment pins still holding it in place so don't get it cocked as you pull it away from the bike.
If you're lucky the cover will separate with absolutely no damage to the original gasket and you can re-use it. If there are any cuts or tears you'll have the option of using gasket sealer or simply replacing the gasket.
- As the side cover comes off keep careful watch for a thrust washer that will probably fall from the forward area. That washer fits over the starter end. Put it back on the starter so you don't forget it.

- With the cover off this is what you'll see.Pretty tidy
eh? Look closely below the clutch basket and you'll see a large dark hole. This is the 'hell hole' for those who drop nuts/bolts/pennies and other items into the sump. Save yourself a lot of possible trouble and cover the hole with something. A paper towel will do.
- Using a small screwdriver, carefully pry the snap ring out of the clutch cover. Set the ring aside where it won't get kicked across the garage. Now you can remove the cover and set aside. Remove the clutch push rod and set aside(preferably showing the order you've taken everything apart) and now you're looking at.....THE NUT. Technically 108 foot pounds of pain in the butt unless you have an impact wrench. If you have a compressor you're home free. A couple of hits with the impact wrench and a 27 mm socket and the nut zips right off. If you only have a breaker bar...go get a long extension to slide over the end and prepare to work a little.
- The nut is off? Way to go! Have a beer.

- Now you can remove the clutch spring, carrier and three washers being careful not to pull a bunch of clutch friction plates away with the assembly. Note the orientation of the washers They are in this order: engine )() then the clutch spring ) .
- If you're only replacing the clutch spring just remove the original, put the new one in (make sure it's bowed 'outward' at the center), put grease on the washers to hold them in place (otherwise they can slip and you can't get the assembly back together properly) and put the 27 mm nut back in place.
- Clean everything up making sure (unless you're re-using the original gasket) there is absolutely no trace of the original gasket either on the engine or the cover.
- Re-assemble in reverse order of disassembly making sure your torque everything properly. Don't forget to remove the towel or whatever you used to plug the oil return hole !
Torque Specs
- Clutch cover bolts 87 inch pounds
- Floorboard bracket 25 foot pounds
- Downtube/frame tube bolts 32 foot pounds.
OBSERVATIONS: (-thanks to Bucko)
- The instructions linked above don't provide any details on how to install the updated 2 piece spring holder. The orientation of the parts is not really obvious by looking at the parts themselves but according to the parts fiche, the new piece: the 'crown washer' fits flat side against the spring side of the holder flange with the 'crown' points facing towards the spring (the crown points fit into the grooves on the spring).
- The 'teeth' on my spring were definitely worn but they were still intact (not really clear why the spring is designed with 'teeth'). I'm surprised the teeth would wear so much simply by flexing of the spring - my theory is that it's not flexing that causes the wear in the spring, it's the holder (or the spring) spinning against each other that causes the wear. Assuming this is correct, the new two piece design should fix the problem as the 'crown' ring will spin on the larger holder preventing wear in the spring. (It's just a theory).
- There is very little visible difference between the old one piece holder and the new similar part from the 2 piece version except the spring side flange is thinner on the two piece version - makes sense since the addition of the crown washer part in the 2 piece version makes up for the thinner flange and leaves the spring in roughly the original position. I wish I had actually made some measurements because I think a guy with a lathe could simply make the new holder by trimming down the flange thickness on the original part and adding the crown washer., or a beefier clutch may be had by simply adding the crown washer to the original holder as it would put more pre-tension on the spring.
- As others have pointed out, an impact driver definitely makes the removal of the 27mm clutch nut easy - there was no fuss or difficulties.
- I was hoping to get away without a new engine cover gasket but the old one tore in several places so it had to be replaced (I had one ready to go).
- I ended up changing the fiber plates even though they measured thicker than the new OEM plates that went in (even though the new ones were well soaked in oil). Kind of baffling. I thought about putting the originals back in but then thought better of it. I'll keep the old plates as spares (for now but will probably toss them soon).
- Getting the frame piece back together was a bit of a grunt. The first time I did it, I need to use a floor jack. The second time I realized I could screw the lower two bolts into position, then use an socket extension in one of the upper two bolt holes to 'pull' the frame into aliment close enough to allow the second upper bolt to be put in place and tightened, allowing the other upper bolt to then be put in.
- Here's a couple of tips:(one of which is mentioned in one of the descriptions on how to replace the spring) do a better-than-good job of cleaning out the groove that holds the big 'C' retainer. I apparently didn't clean the groove out well enough (the first time) and when I put everything (and I mean everything) back together and pulled the clutch the first time, I head a 'ping' inside the engine >:(. I had to tear it all apart again where I found the free range retainer, cleaned the grove out again and put it all back together again. So, the second tip is: test your clutch release once you get the clutch basket reassembled and before you bolt the case cover back on.
- The second time I did the job, it took only 1 1/2 hrs from start to finish (mind you, I didn't have to scrape off the old gasket which did take some time in the initial attempt)
- Clutch is working fine now but I can't feel any difference in the 'pull' at the lever so if the replacement spring is beefier, it's not by much.
- The toughest part of the entire job was unscrewing the dam brake light switch, not as easy as it sounds and I had to pull it out and put it back twice.