
Gus Gustafson, Michel Massé, Gadget
The steering on your motorcycle is very dependent on a single set of bearings inside the frame stem.If those bearings are adjusted too tight they can wear prematurely and your steering can be stiffer than it should be.Too loose is worse.In an extreme case you might feel a 'clunk' in the steering when you hit a bump which is punishing the bearings as much as it's punishing you.With these bearings, as with the fabled three bears there is a 'just right' adjustment that lets your steering and suspension do their job smoothly and easily.Adjusting the torque on the steering nut is pretty straight forward except you are supposed to use a special socket or wrench similar to the one shown to actually turn the nut.
 |
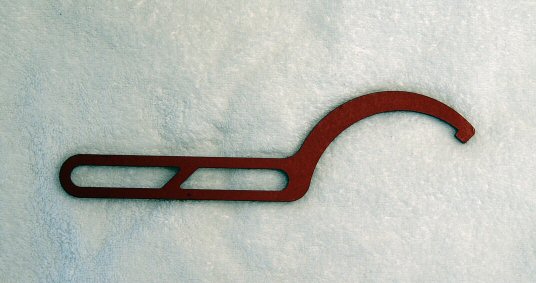 |
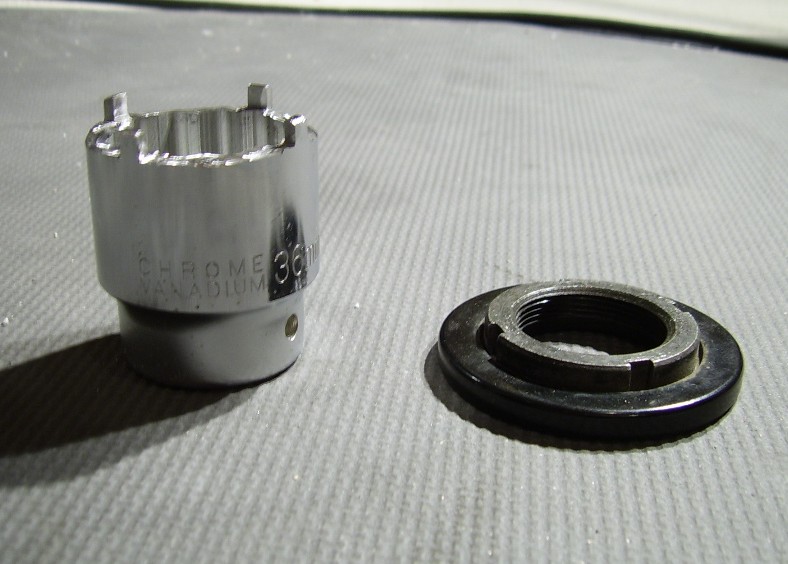
You have options here.You can purchase the special tool shown above for around $40,you can do as so many do (but not recommended), use the edge of a screwdriver to tap the edge of the serrated nut until it submits to your will or you can make your own tool using a 36 mm socketfrom Sears, about $8. Better?Ok, here's how you make it.(with special thanks to Hans (Ghost) von Sallwurk for the photos)
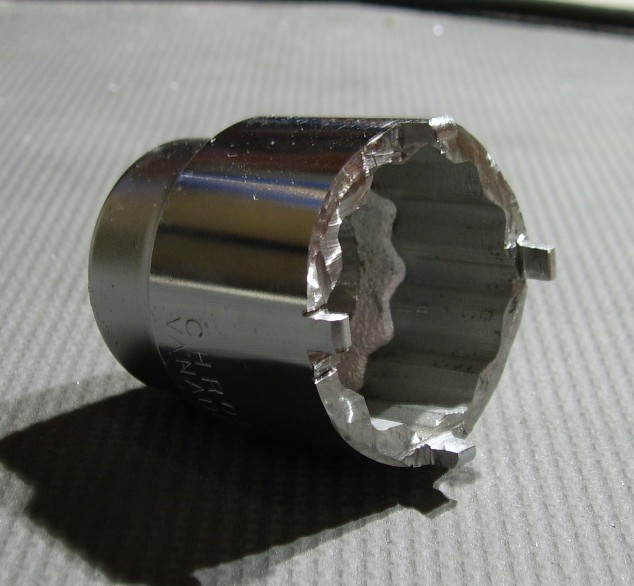
With the stem nut as a guide mark tabs on the edge of the socket then use a Dremel tool and/or grinder to cut away material from the socket so you're left with four tabs that fit into the slots in the nut.
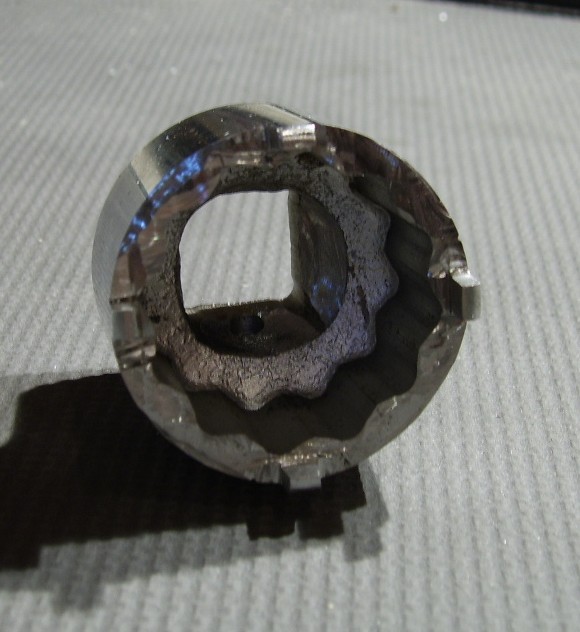
Don't put the Dremel away just yet.You'll need a grinding attachment to remove some metal from the inside of the socket (see photo lower left) to clear the steering stem shaft.This is one of those 'trial and error' things so grind a little, see if there's interference and if so grind a little more until each of the four 'posts' is fitting snugly into the nut slots.
This is actually the most accurate way to adjust the nut because you can get a direct and accurate torque reading (33 ft lbs).Using the special (hook type) tool you need a scale to pull on the arm and banging away with the edge of a screwdriver...well, all bets are off there.
 |
 |
 |
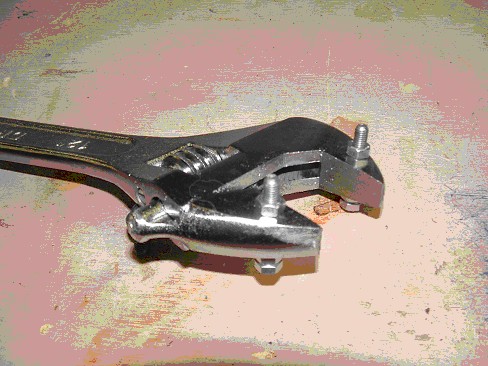
Here's yet another idea from Michel Massé. Michel drilled two holes in the ears of a 12" adjustable wrench (see figure at left) and added two M4 bolts. The nice thing about this tool is it is adjustable for any other application. It makes removing and installing the steering flanged nut a breeze. To torque to 14 ft-lb, Michel uses a fish scale and pulls 15.6 lbs (12 /“perpendicular length from steering shaft center to wrench eye center in inches x 14).
NOTE: if it's been two years or longer since the steering head bearings were lubed you may as well do it now. You'll need a helper (especially if the front tire is still attached to the forks).
Steering Stem Nut: |
Steering Stem Head Nut |
Pinch Bolts |
| 14 ft/lbs with Socket for the VN1500, 43 in/lbs for the VN1600 | 40 ft/lbs | 25 ft/lbs |
| 49 lb Pull with Kaw tool (1500 Only) | ||
| 'No slam' with hammer/screwdriver method |
|
Web site design by Saftek. Copyright © , Saftek Inc. Duplication of any element of this
Not affiliated with Kawasaki. Kawasaki, Vulcan and Drifter are trademarks of Kawasaki. |