We limit access by GUESTS to protect our members from spam, hacks and trolls. Please register to gain access to all our resources.


Posted by CDNRatMan
- May 21, 2013, 18:05:50 PMWell I think we could go into business here selling brackets and a few other items.....mmmmm.....very nice.
Posted by Boaski
- May 21, 2013, 16:50:03 PMA year and a half ago I purchased a 2000 Drifter from a guy that posted on here.
Since it was winter I decided to do a few things to it, like having some pin striping and putting a set of fish tail pipes on that Joe (the previous owner) had.
Once I did this stuff the saddle bag brackets that Joe had made did not work any more.
Shortly there after my wife suggested there needed to be a passenger seat for the required trips to go get ice cream.
I never liked the way the bike looked with the 2 up seat, never liked the way it felt either. The bike just didn't seem to do well with 2 people on it and it wasn't very comfortable for the wife either. So I decided that I'd put the single seat back on it while I had things apart for new rear rubber. I also knew I wanted to figure out a way to hang the saddlebags on it again. My goal was to make a bracket that would be convertible between a removable passenger seat and a luggage rack.
Here's my current "Rev B" saddle bag mounts:
I did some test layouts until I found a location that the bags did not contact the pipes or the seat. I tend to over-build things & this project is no exception. I made the main plates out of 13 gauge (.090") CRS: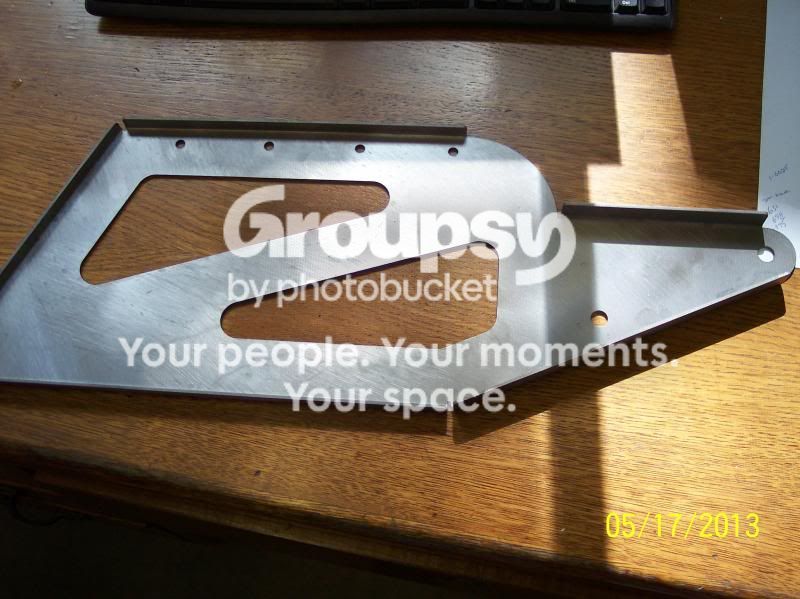
I knew I needed to space them out similar to the stock 2 up seat bracket so I found a hunk of 3/4" A36. It's handy to have access to a waterjet cutter...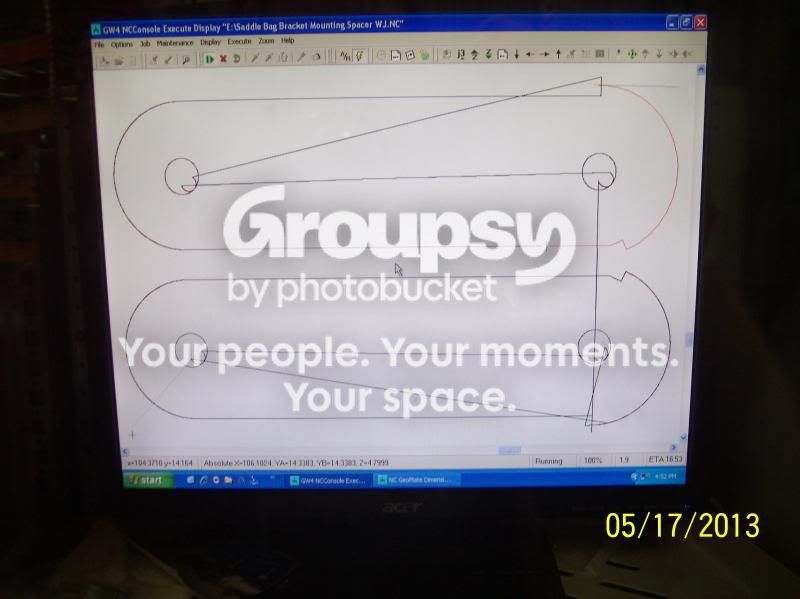
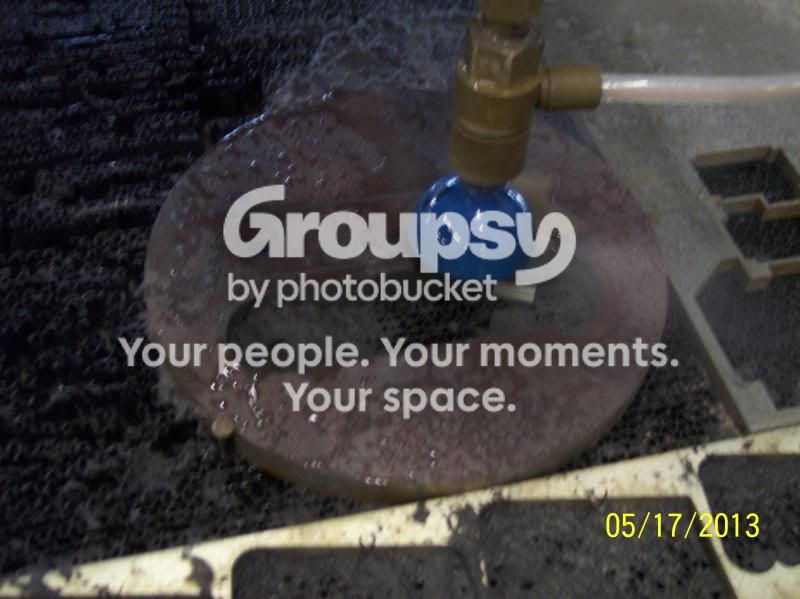

Yeah, I know, maybe a little heavy.
These parts filled the void at the front of the brackets as well as spaced the brackets out.

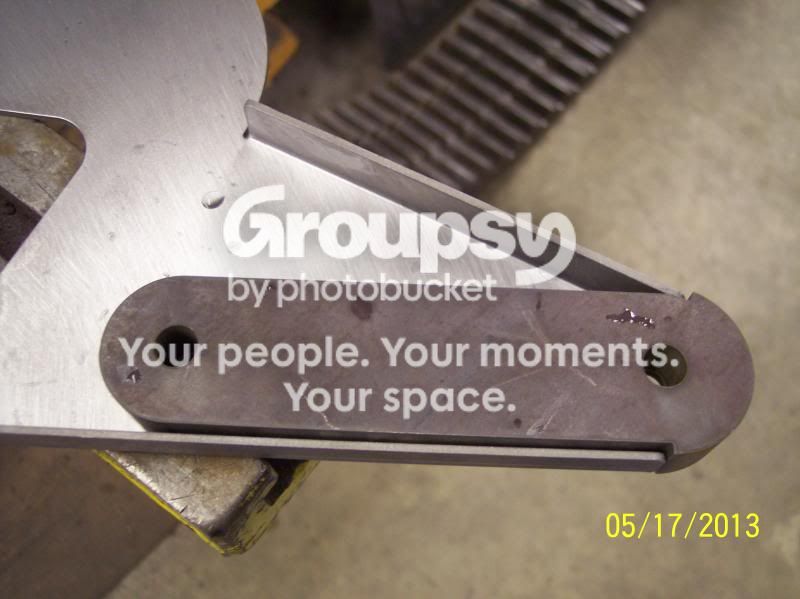
I also wanted something to stiffen the bracket along the length of it so I made a small angle brace out of 13 ga CRS.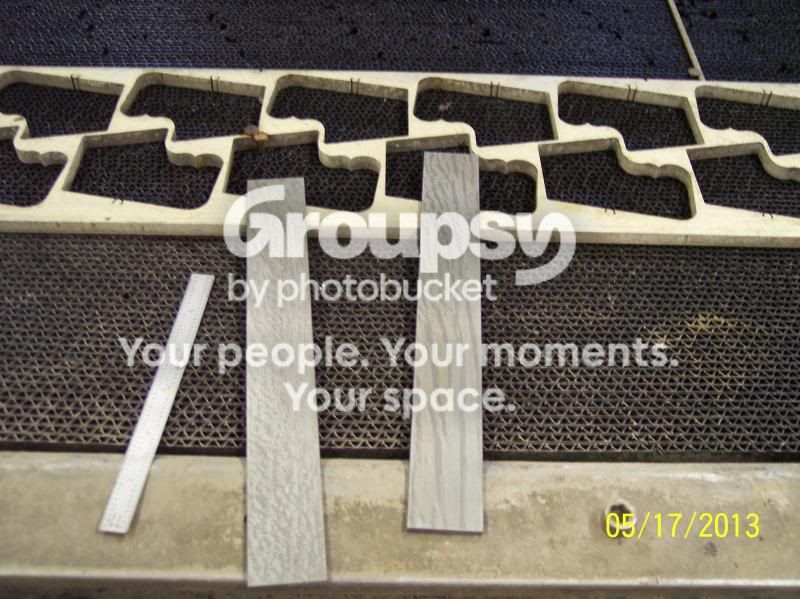
A handy PTX tool cleans up the steel after it's been cut on the WJ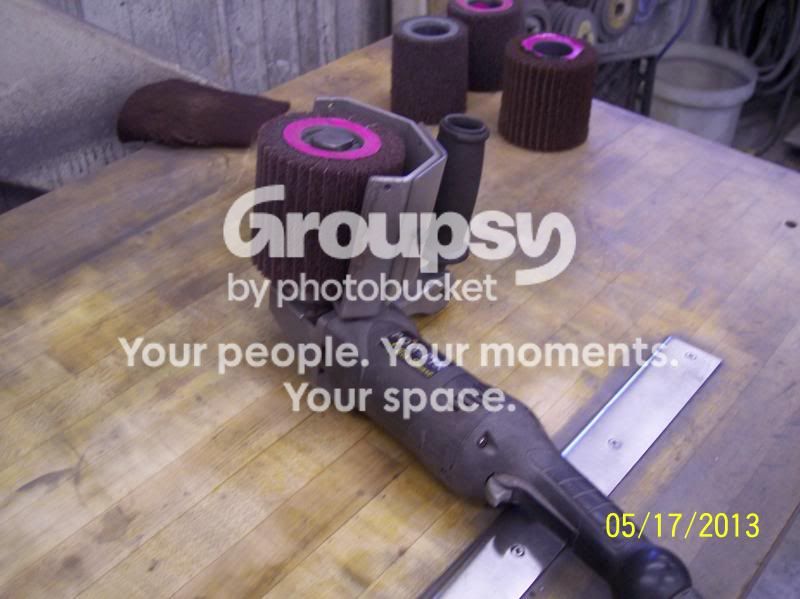
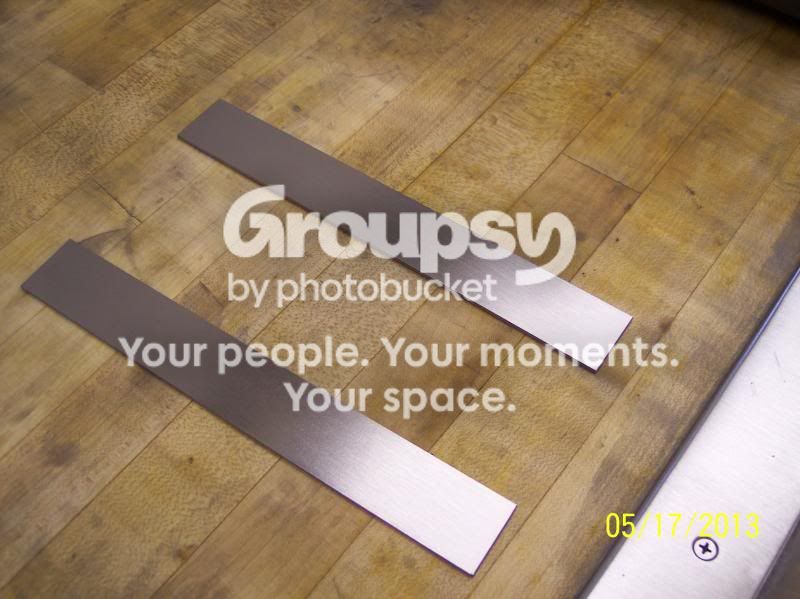
Entered the info in the press/brake: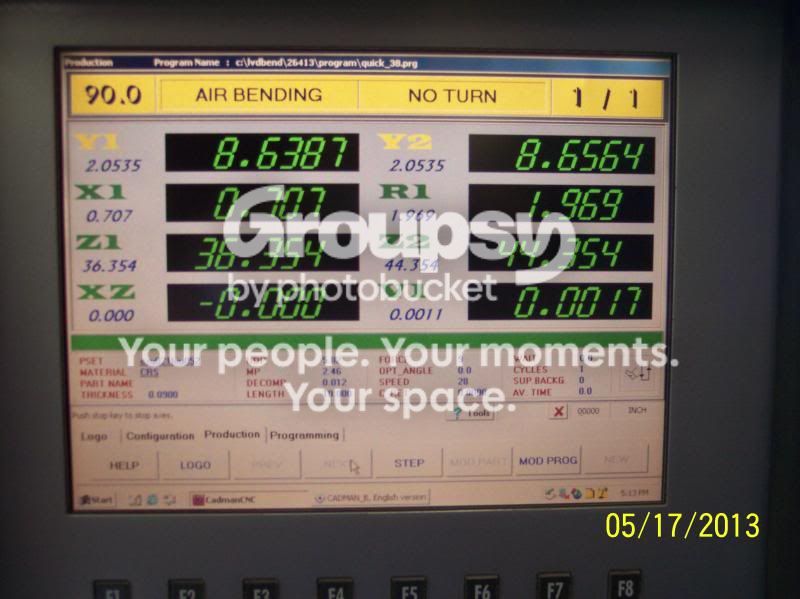
Put in some tooling: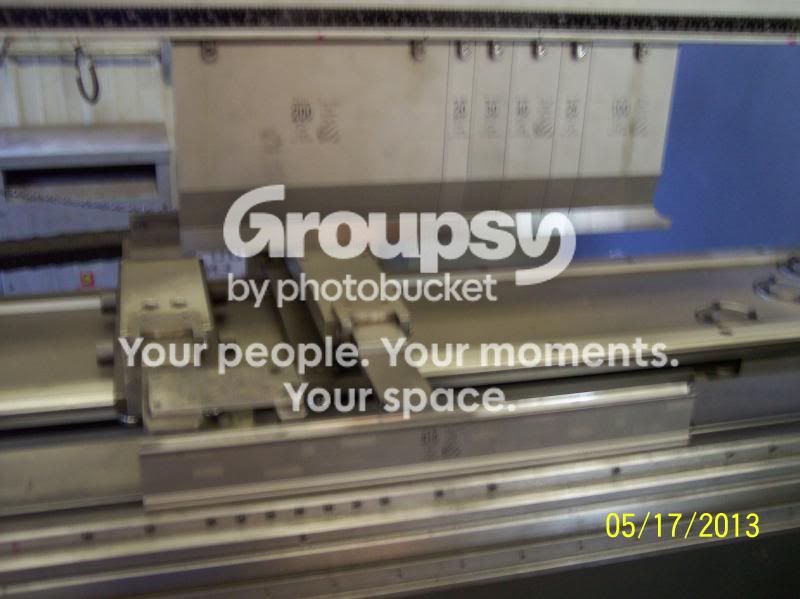
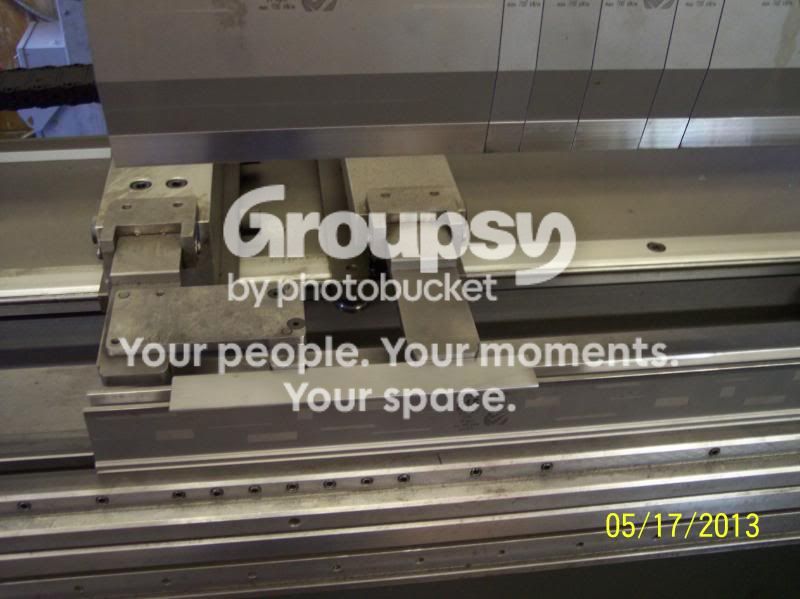

Checked to find out I got lucky the first time
I cut another part out for the radius on top & fit the various parts together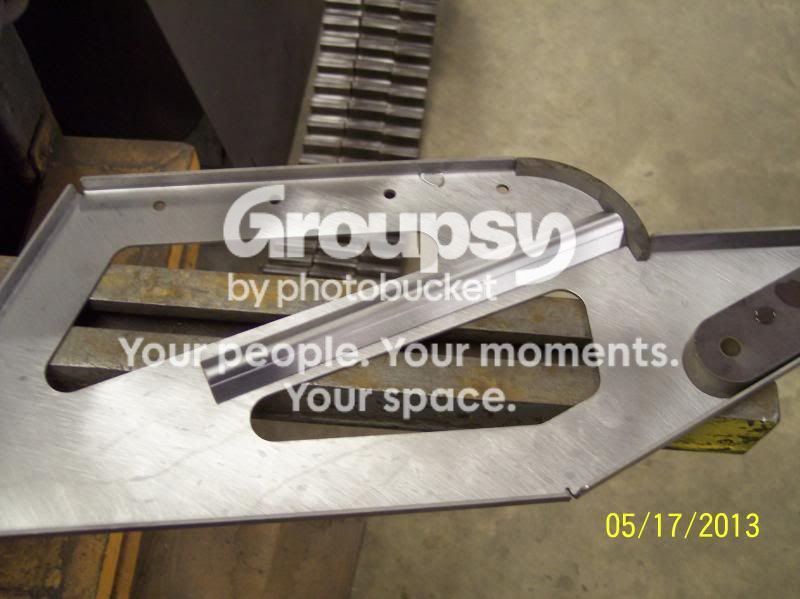
I went ahead and welded them up & ground them smooth. I'm way better with a grinder than I am with a welder.
Here they are painted & mounted on the bike. The bike is dirty & in desperate need of a bath.
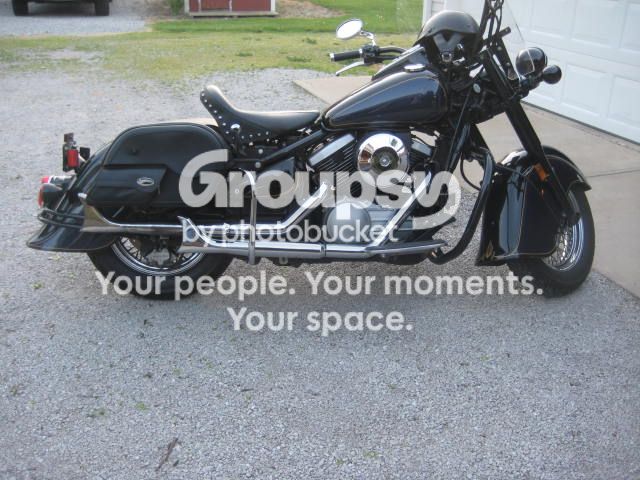
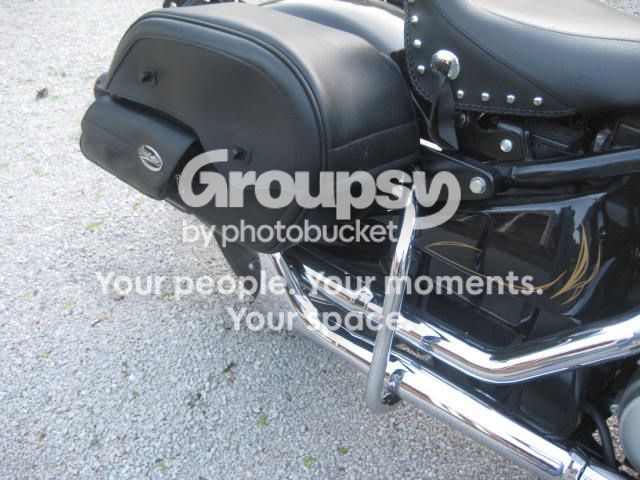
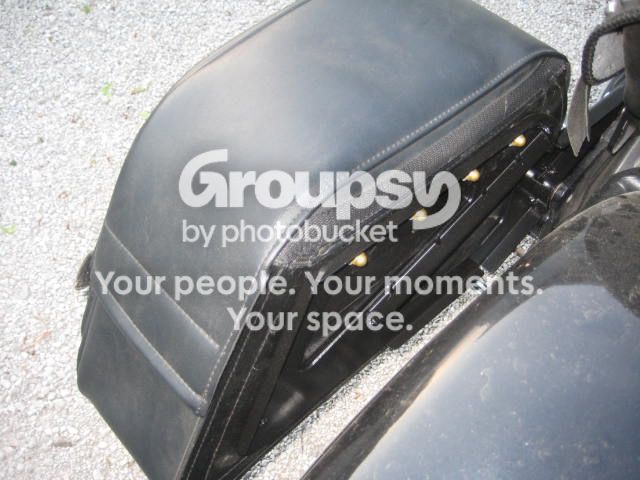
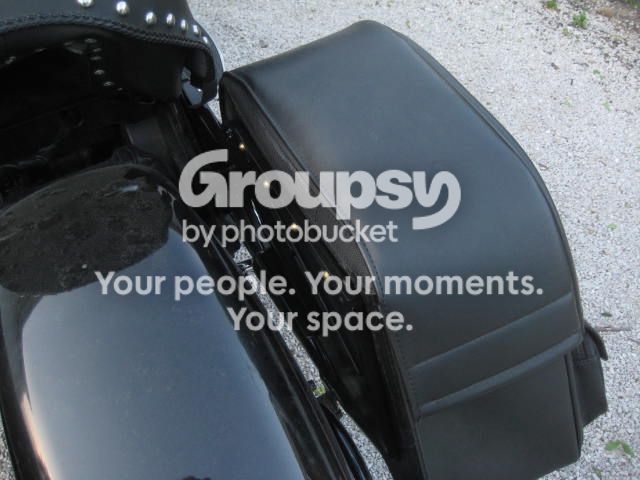
This picture really bugs me. Does a problem show up in the picture?
Now that I have them on I see a whole lot of things I should have done differently. "Rev B" is in the thought process at the moment.