
PDF ONLY
- Greenbarn's Mod - Downloadable PDF
- RockinRonny's Mod - Downloadable PDF
- WARNING - these lights are heavy and they will break. Bamks designed a bracket to help support the lights.
- Bamks DRF
I tried to write instructions for the way I did the install. I hope I didn't leave anything out. Let me know if I did.
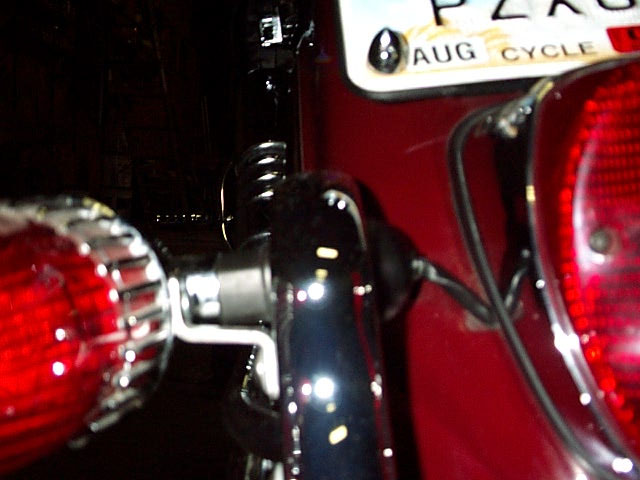
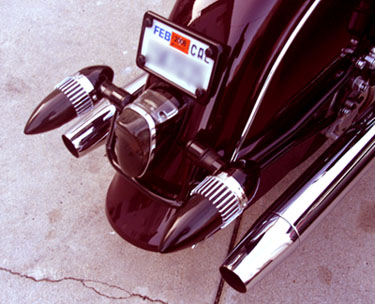
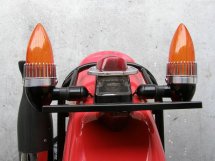
Yes, the lights can rotate down due to road impact. They will do it very badly when the rubber mount gets wet. I solved the problem by making a bracket for each one. I took a metal strap and bent it in a sort of Z shape I drilled a hole ini each end. One end I attached to the lens mounting screw on the taillight. The other end I attached to the top screw of the crome bumper cover. This will properly support the added weight of the lights. They have 7,000 miles on them that way with no problems. I have attached pics of the bracket.
 |
 |
I had 4 original turn signal lenses sitting in a box (swapped out the OEM's with smoked lenses a while back). So I figured I could accomplish this with minimal screaming, as I could screw up 2 of them and still be able to complete the work.
So here's what I did.
1. Grind down the rearmost outer perimeter of the OEM lens. It's a very close fit to the diameter of the chrome Cadillac lens retainer, so you'll only need to remove about 1/16" of plastic all around. In other words, don't start daydreaming at the grinder, you can easily wind up taking off too much.2. Once you get a good snug fit of the lens into the retainer, insert it so that the rear edge of the retainer lines up with the outer rim edge of the lens. Don't push it in any further than that. The inner ring flange on the lens must be sticking out past the retainer so that you can still fit the lens on to the turn signal housing.
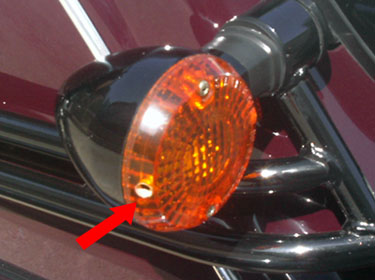
3. Mark the lens for the two holes that need to be drilled. Obviously these should be perpendicular to the existing screw holes.
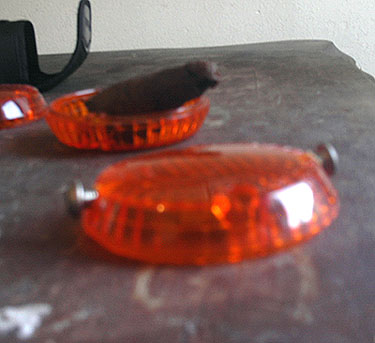
4. Remove the lens and drill the holes. I just happened to have a 10mm tap/threader laying around so that's what I used after drilling a large enough hole. The 10mm socket screw heads fit perfectly into the existing holes in the retainer ring. Alternatively, one could also use self threading screws as Hank mentioned. The important thing to note is that the screw holes must be straight, not at an angle. See the pic below. The screwed up lens holding the cigar is optional.
5. After drilling and threading, check the fitment of the screws. If all is good, it's time to assemble.
6. Install the OEM lens back on to the turn signal housing. Then, if you haven't done so already, assemble the Caddi lenses into their retainer rings. These just slide in, but note that the lens has a small raised flange that lines up one of the little "arms" retainer ring that doesn't have a lip. If you don't line these up, the Caddi lens won't slide all the way into the retainer ring.
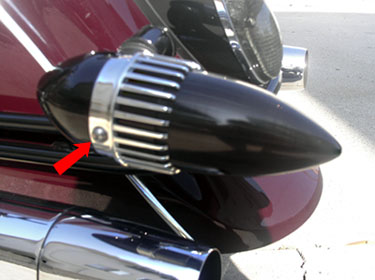
7. Gently slide the Caddi lens and ring assembly on to the OEM lens/turn signal housing. Put your screws in. Bang, zoom, done.
I thought that having a secondary inner lens would diffuse the bulb light too much but it didn't. In fact, it seems to be even brighter then it was before.
The only additional thing I may do is remove everything and spray about 1/8" of the outer edge of the OEM lens black. The reason being is that there is a hairline of space between the retainer ring and the signal housing and light comes through there when the bulb is flashing. This of course, annoys me. Other than that though, I was very pleased with the results and the mount feels very solid.
 |
 |
 |
 |
 |
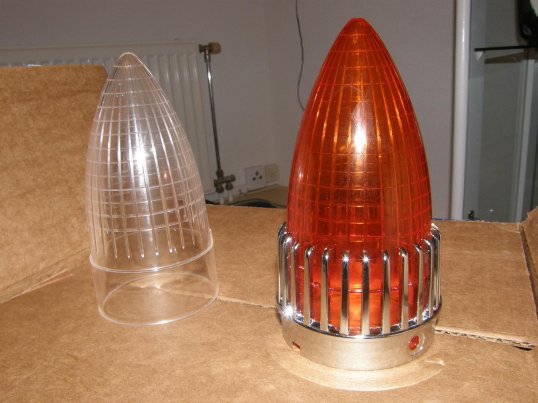 |
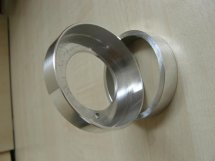
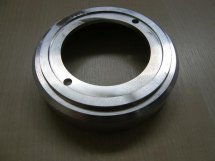
A.Pauw bought the lens on the left,
and made the rings below. |
 |
 |
 |
|
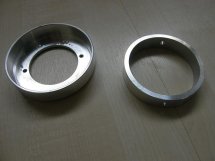
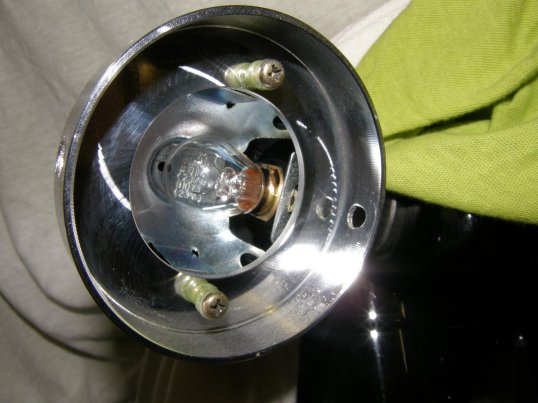
| He then scewed off the original lenses, leaving the rubber rings in place. Screwed on his adapters bolted tight using original screws. Then mounted to the bike. | |
 |
 |
 |
|
| I did it on the front and the back…the construction is very stable and easy to make. And also looks great …a.pauw | |
|
Web site design by Saftek. Copyright © , Saftek Inc. Duplication of any element of this
Not affiliated with Kawasaki. Kawasaki, Vulcan and Drifter are trademarks of Kawasaki. |