
-Holraven (VDR)
After reading up and down these and other forums, I finally ignored all warnings and ordered the Belt Conversion Kit. The pain of lubing the chain with those massive fenders, as well as the chore of washing rims full of spillage, made me give in to the dream of a maintenance free, noiseless, beautiful belt drive.
I'm sure you have read a lot about the kit already, but I'll confirm the first true rumour first: It takes FOREVER to get the kit. I went with the idea of ordering through Hellriser Customs (http://www.hellrisercustoms.com), and I have nothing but praise. The Küryakyn tombstone bag I ordered with the kit was ready to ship in a week or so. As for the kit; I ordered on January 30th and the kit was finally sent on May 22nd. That is close to four months. So if you want the kit, order it in the Winter! ;)

That said, I can understand that a small-scale operation like Scootworks produces batches of their items from time to time. They do not have a dedicated assembly line for each item, but pretty much decide on-the-fly which item to make that day/week. And I realise the request for belt drive kits for VN800 bikes are not as high as other items. So I get it. To some extent.
When I eventually got the package, the first thing I noted that there were no instructions included. You'll need to print them yourself from the "Information Center" at http://www.scootworks.com. The entire operation is pretty basic, but it is time consuming. You will need to remove the rear wheel, the exhaust, the suspension "cradle" (the inner swing arm or whatchacall it) and you'll probably want to remove 10-15 years of grease, oil and dirt before reassembling the bike...


A friendly tip on the order of disassembly (which I didn’t follow):
The rest should be pretty self-explanatory. Just make sure all bolts and parts that come off the bike go back on the bike. Preferably in the same location.
And oh. Before disassembly I didn't realise that the belt actually loops the pivot bolt for the suspension cradle. Yes, you need to remove the bolt, meaning removing the rear shock and fiddle about it a bit. You don't have to remove the cradle completely though, as there is enough space to get both the chain and the belt past the cradle once you've removed the bolts. I left the rear brake caliper hanging from the swing arm and all. Less is more.

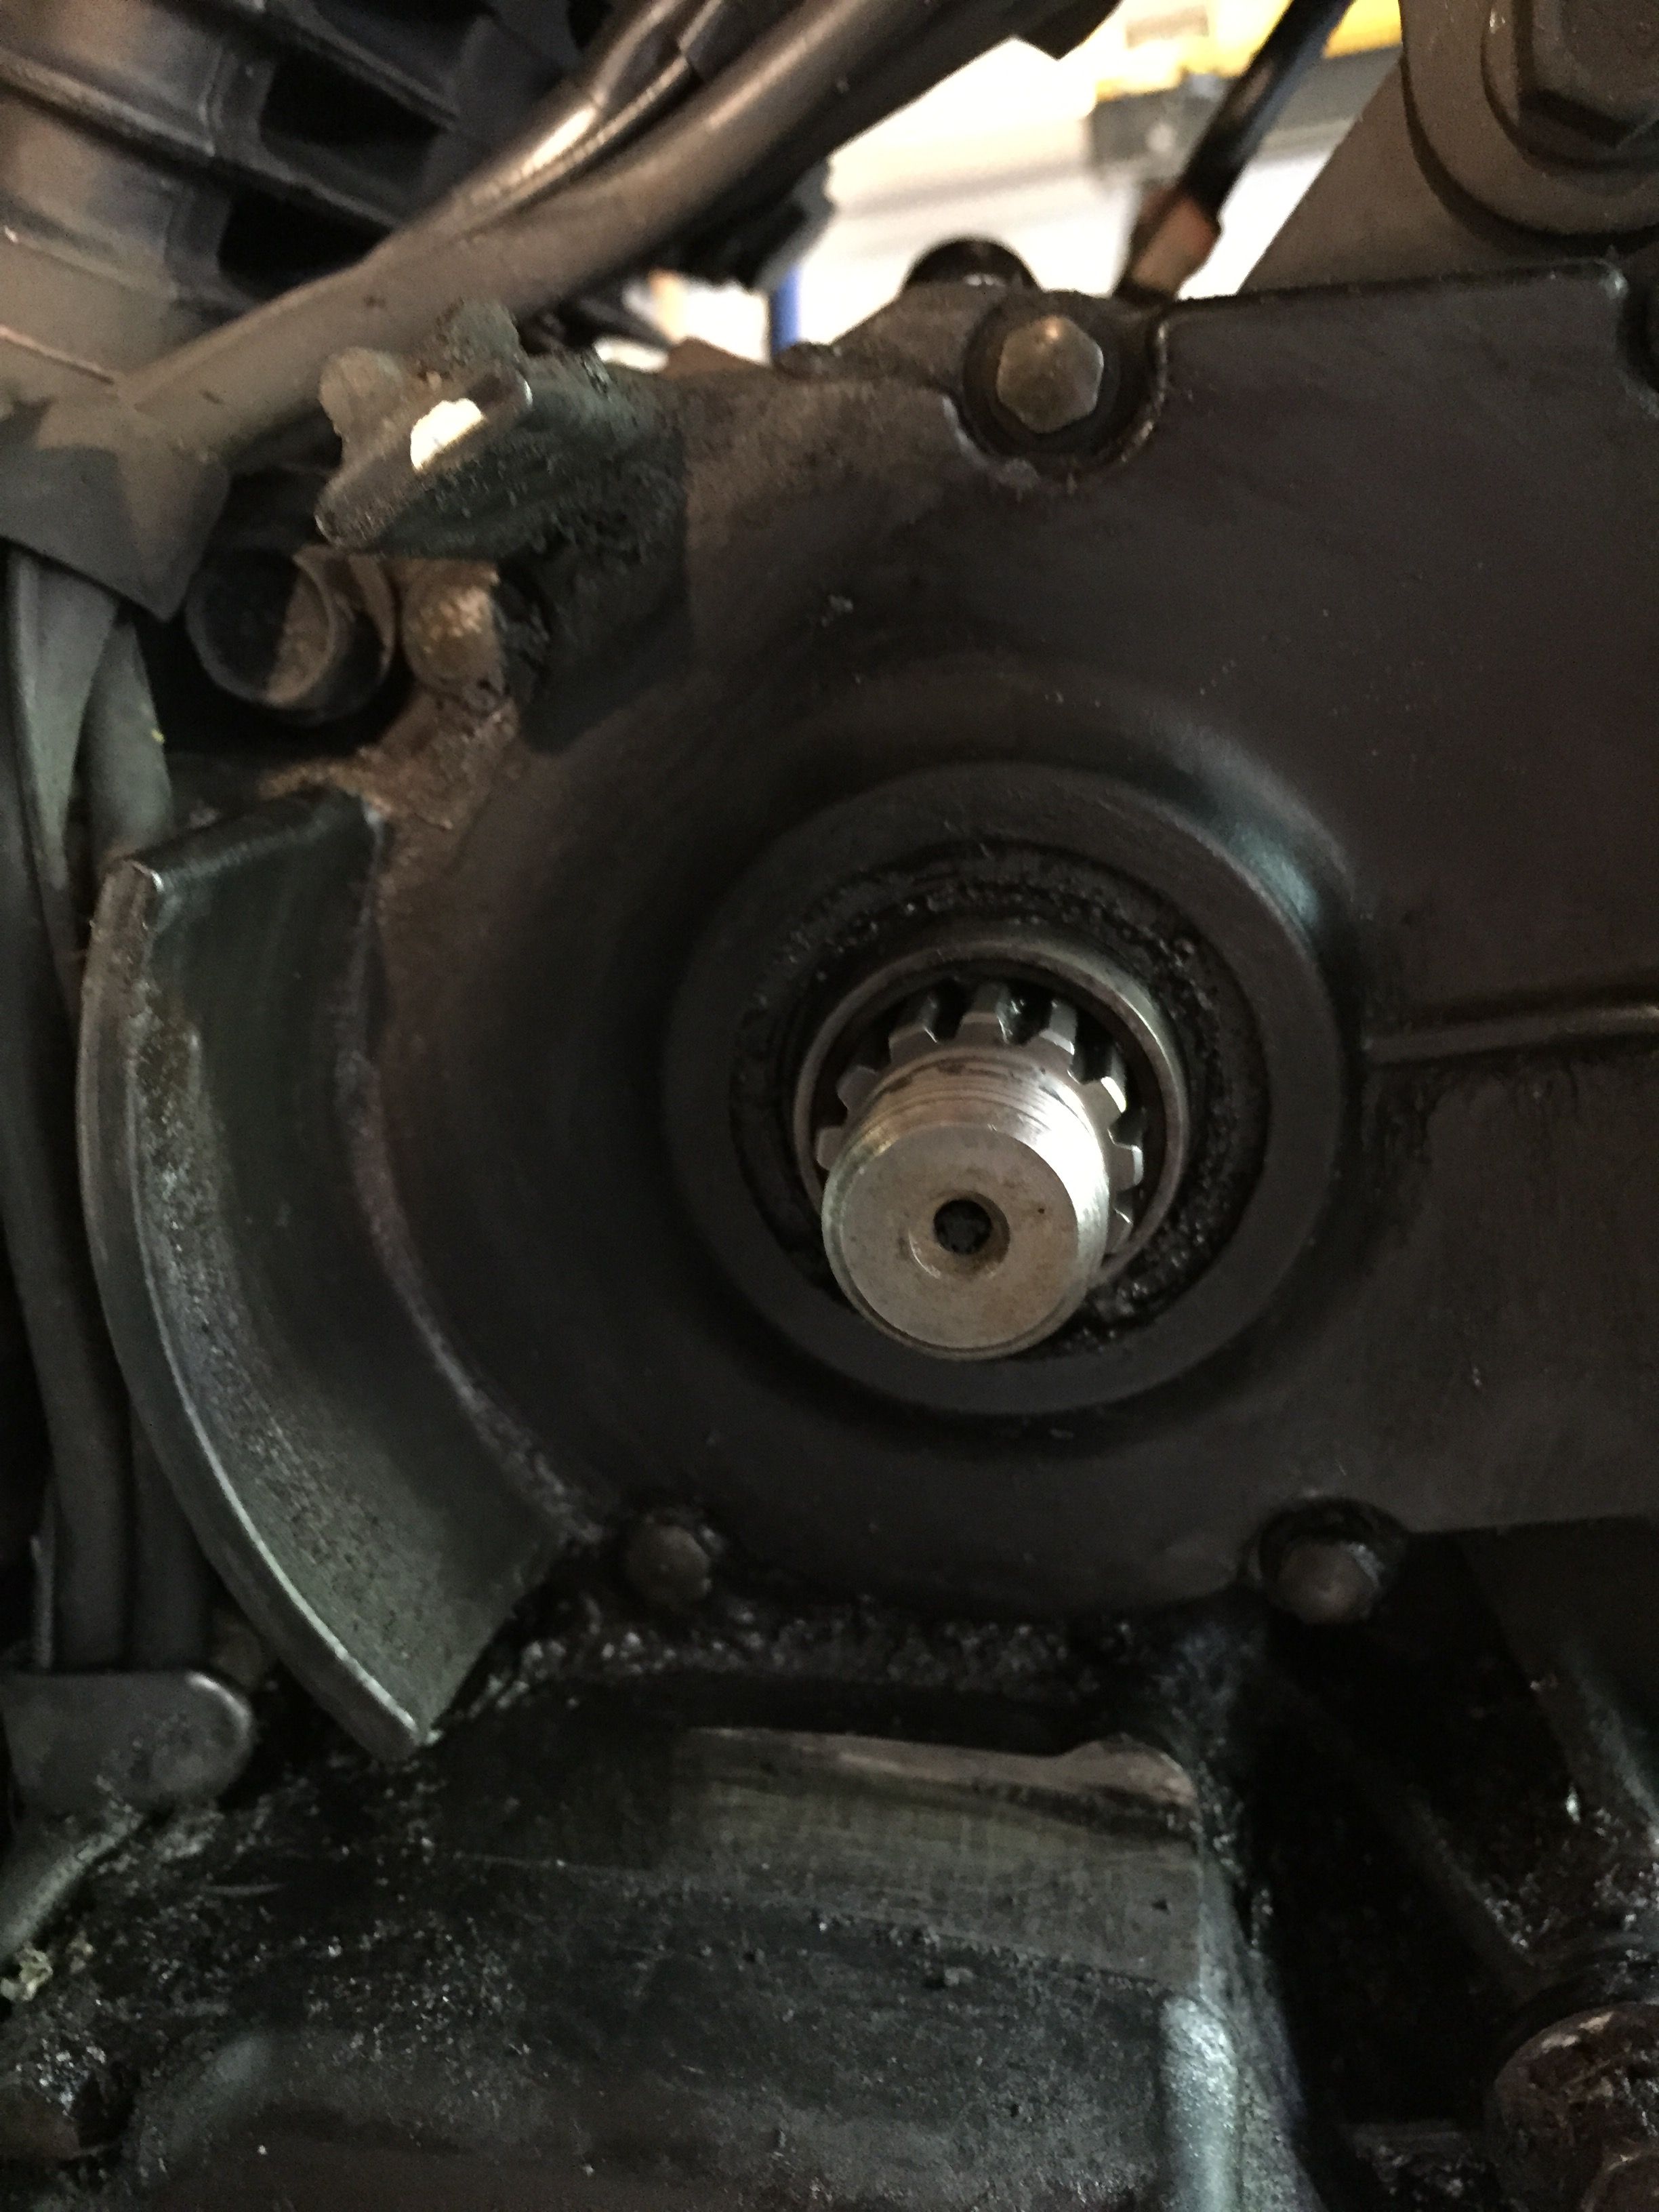
The instructions warned that the rear pulley could be a tight fit. On my bike it was a perfect fit.
What was tight, however, was the front pulley. There is a rubber "seal" completing the protective "wall" towards the front, and I had to remove it completely to provide space for the pulley. Once that was gone, there were no issues.

Note the rubber thingy at the front.
No rubber!
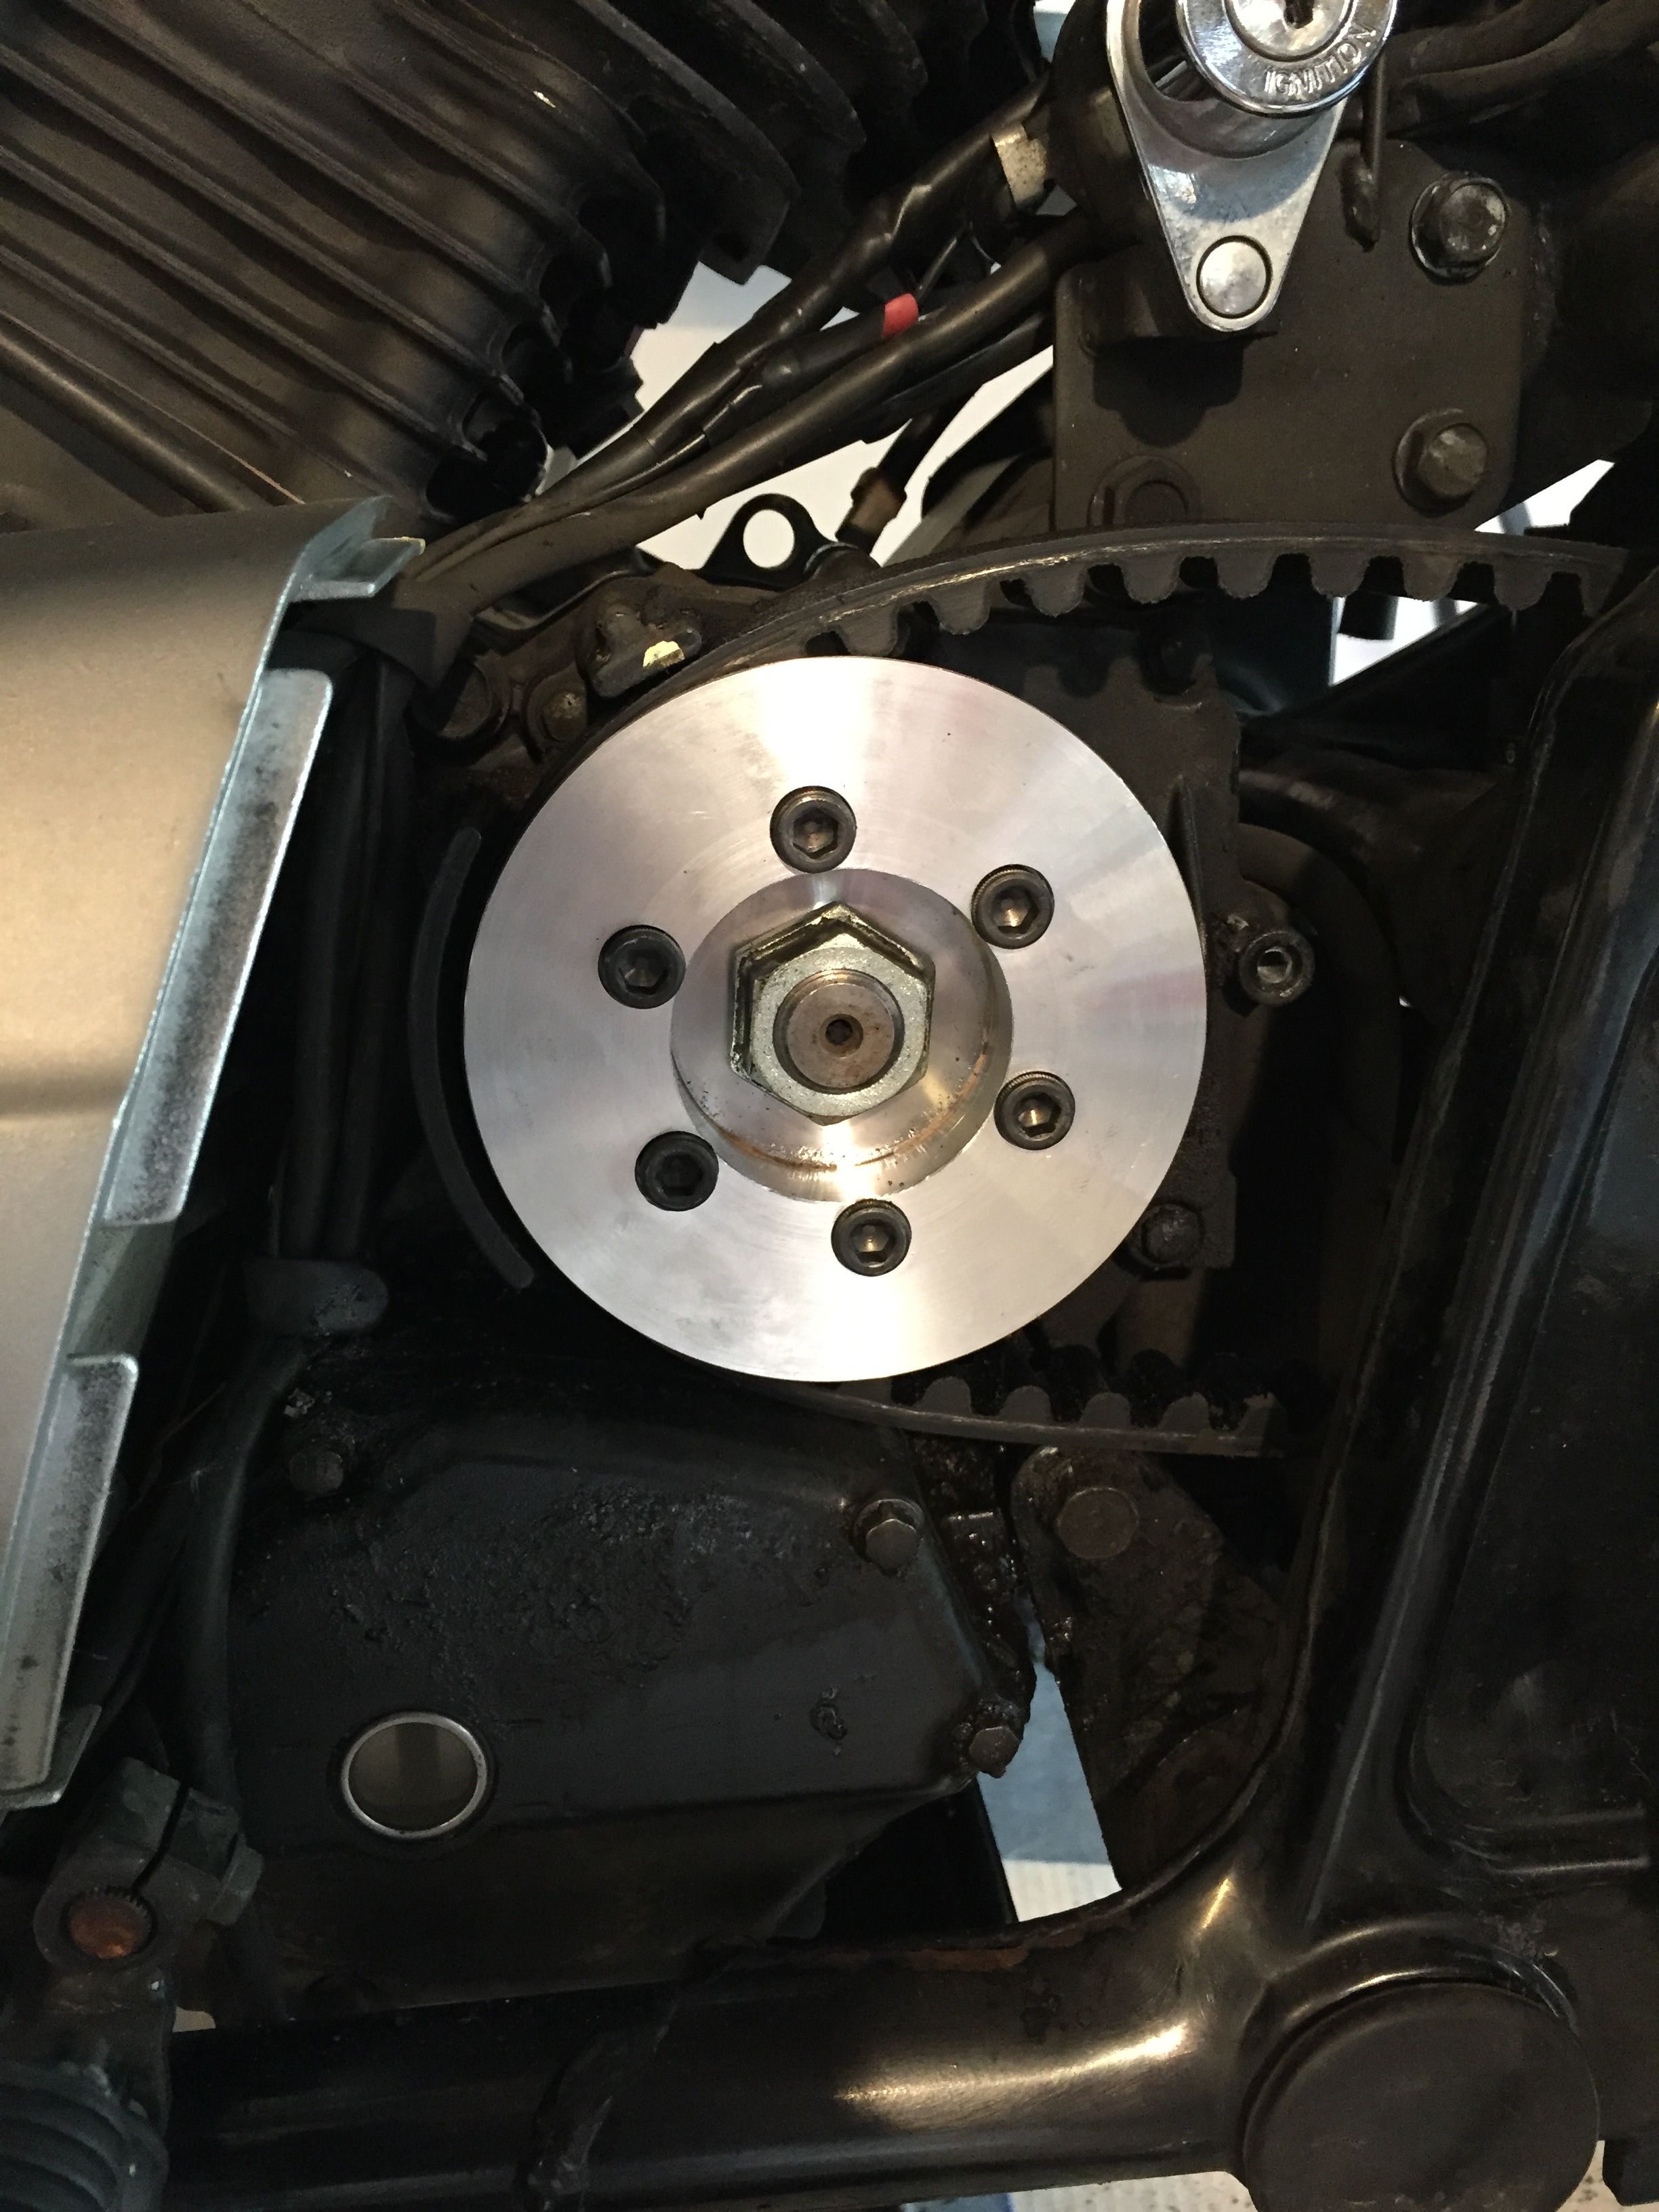
Belt installed, and as you can see there is no room for that rubber thingy!

The most fiddly point of the operation is getting the wheel back on. I recommend using four hands (i.e. ask a friend). I did it alone, and while doable I did swear a lot and scratch the paint of my new pulley...

After completing the belt tensioning procedure (where you definitely need a friend), I reassembled the rest and got ready for riding!
How long does it take?
For me, it took two evenings of work, maybe four hours the first and three hours the second. Most of those hours were spent scraping off muck, mud and grease from the rim, hub and engine.
Is it ready to ride immediately?
You'll need to wait 24 hours to let the Loctite/Permatex cure. I did the disassembly, cleaning and fastening of the front pulley on day one, then I adjusted and reassembled the rest on day two.
How does it feel?
Well, how can I put it... I love it. It is so much smoother, less noise, and the higher ratio suits my driving perfectly. I'm able to use all the gears more efficiently and the throttle response is also much smoother.
I took a trip totalling about 200 kms (125 miles) yesterday. It seemed slightly harder to keep 120 km/h (75 mph) steady on the motorway in fifth, but it might have been poor wind conditions as well. Traditionally my bike tops out at around 130 km/h (80 mph) with normal driving, and I haven't really tried getting it faster - that's quite uncomfortable enough. Cruising in 80-100 km/h (50-65 mph) is no problem and the RPM has been slightly reduced. Still, I find the change is more noticeable in the lower gears.
So what about durability?
That's the question, isn't it... I've read about worn out bearings and pulleys, but I won't know until I ride more.
I'll be posting later on when I've busted more miles! 8)
+H+
|
Web site design by Saftek. Copyright © , Saftek Inc. Duplication of any element of this
Not affiliated with Kawasaki. Kawasaki, Vulcan and Drifter are trademarks of Kawasaki. |