Amber Spot Lights on your Drifter
- Mr. Bill (VDR #569)
Downloadable PDF
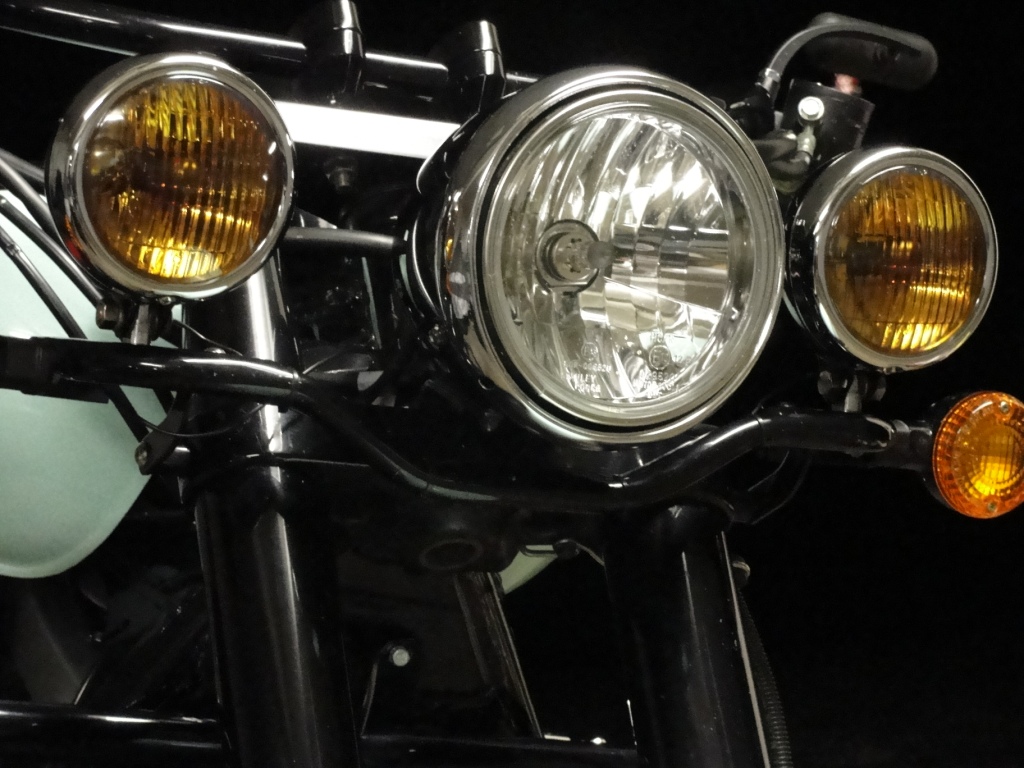
Want amber spotlights in your Kawasaki F&S lightbar?

Here are a few tips…
What you need:
- Amber spotlights – both Wagner and GE make comparable units. The part number for both brands is 4415A (for a fluted lens, they also make a smooth lens). I got mine at Napa for about $15/each. These are 4.5” dia, 12V, 35W sealed beam units.
- Ground wire – about 1 ft. I used 18 gauge wire.
- (2) crimp terminals for grounding – I used a ring tongue style )

Tools:
Phillips screwdriver, wire cutter/stripper/crimper
What to do:
- 1. Remove the spotlight bezels/spot assemblies by removing the (1) screw at the bottom of the bezel. Disconnect the quick disconnect.
- 2. The spotlight assembly is secured inside the bezel by (3) metal wire tabs. Study the way that the light is secured as you will be securing the new lights in the same fashion. Remove the tabs and separate the spotlight assembly from the bezel.
- 3. Secure your new amber sealed beam unit in the bezel with the tabs in the same manner that the stock until was secured.
- 4. The back of the amber spot has (2) screw terminals, (1) power and (1) ground. Because the stock spotlight grounded directly to the bucket, there is only (1) existing wire, power. You will have to add a ground wire. I grounded to the bolt that secures the spotlight housing to the light bar using ring tongue style crimp terminals. From there I ran the ground wire into the spotlight bucket through the same hole as the power wire goes through.
- 5. Cut the quick disconnect off of the power wire and strip the wire about ½ inch back. Connect the power wire and the ground wire to the screw terminals.
- 6. Secure the bezel/amber light to the bucket with the screw on the bottom…and you’re in business.

Wow, that was really easy, Enjoy!